Search result
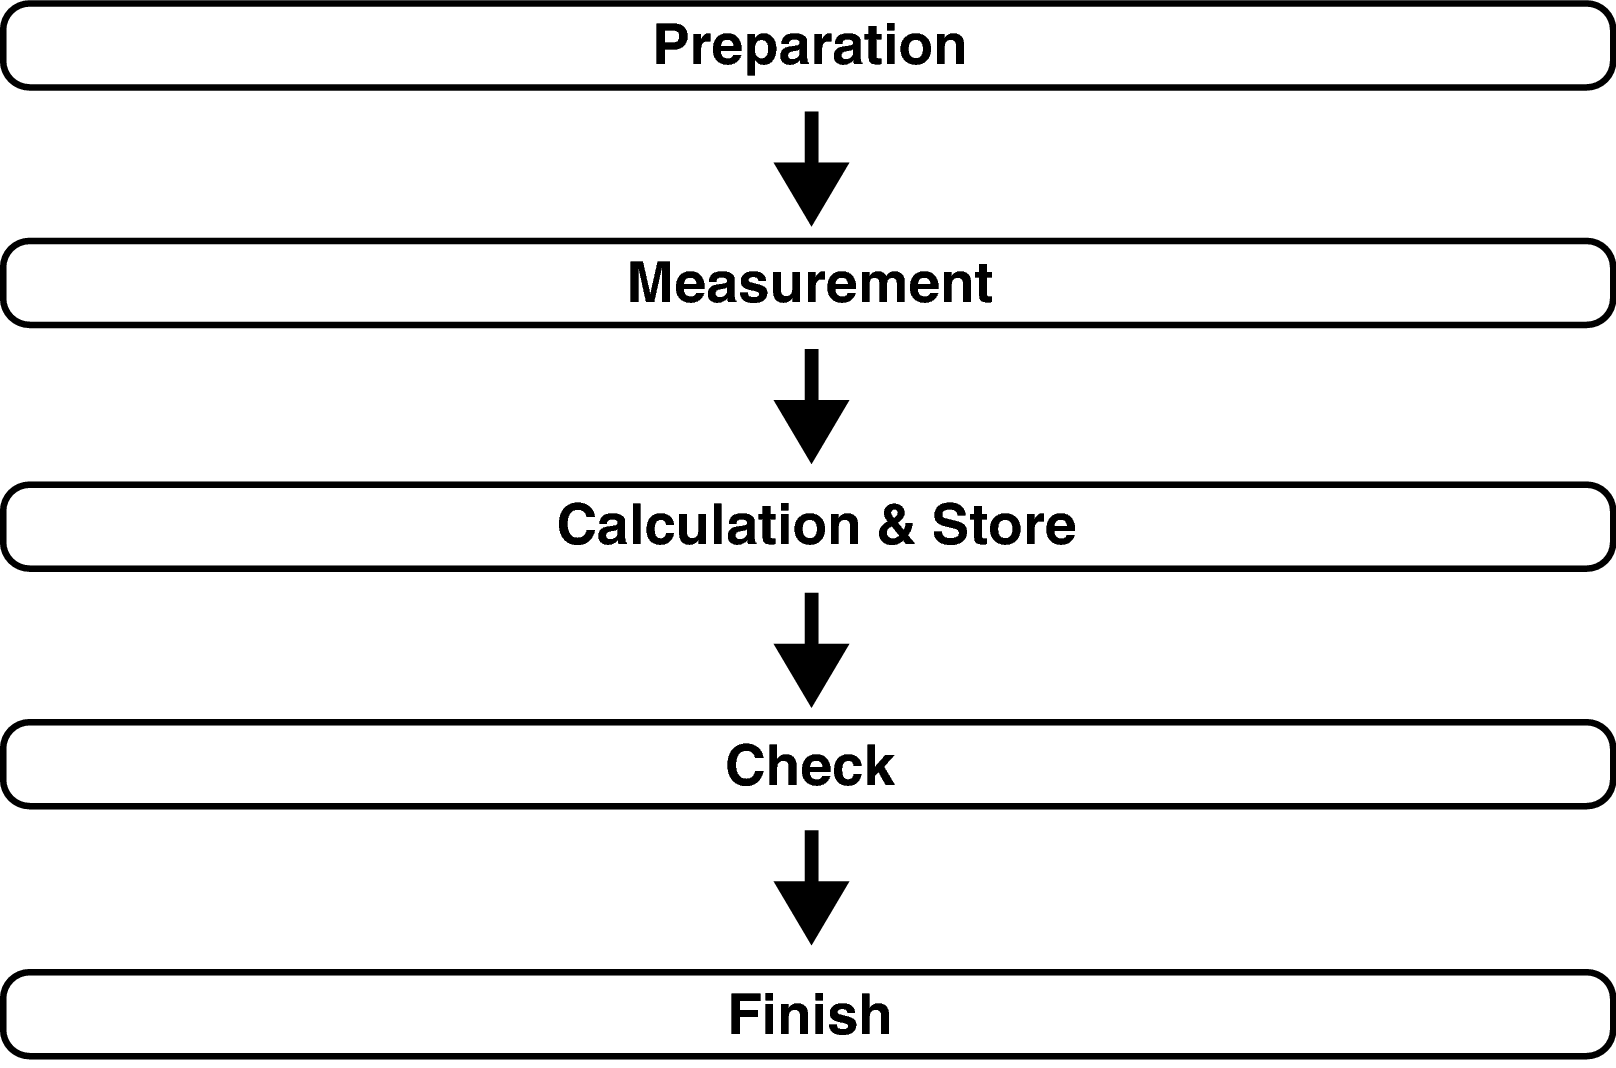
Procedure for speaker settings (Audyssey® Setup)
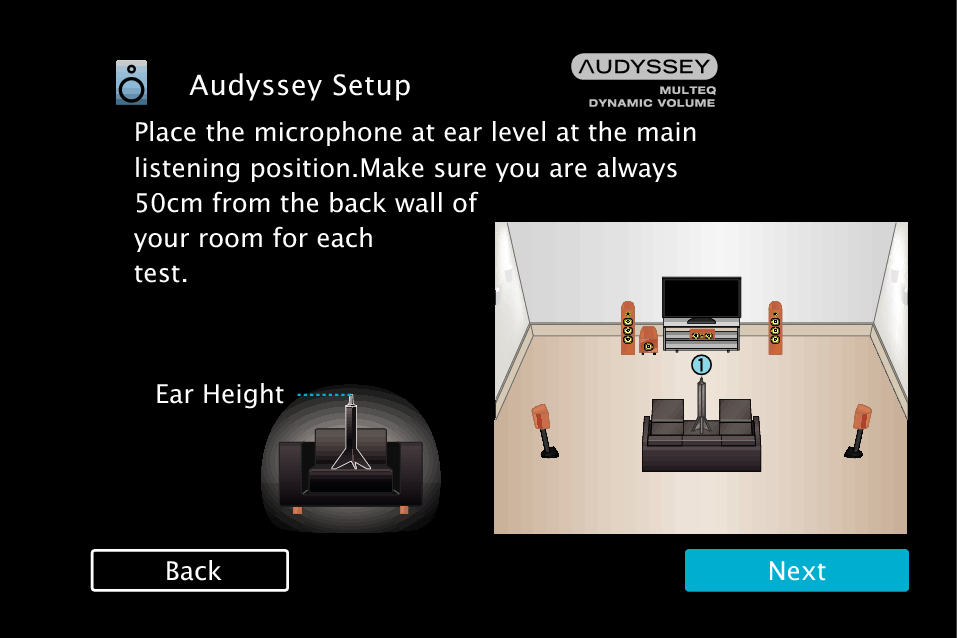
Attach the Sound calibration microphone to the supplied microphone stand or own tripod and install it at the main listening position.
When installing the Sound calibration microphone, point the tip of the microphone toward the ceiling and adjust the height to match the height of the ears of a listener in a seated position.
If using a subwoofer capable of the following adjustments, set up the subwoofer as shown below.
When using a subwoofer with a direct mode
Set the direct mode to “On” and disable the volume adjustment and crossover frequency setting.
When using a subwoofer without a direct mode
Make the following settings:
Volume : 12 o’clock position
Crossover frequency : Maximum/Highest Frequency
Low pass filter : Off
Standby mode : Off
Connect the Sound calibration microphone to the SETUP MIC jack of this unit.
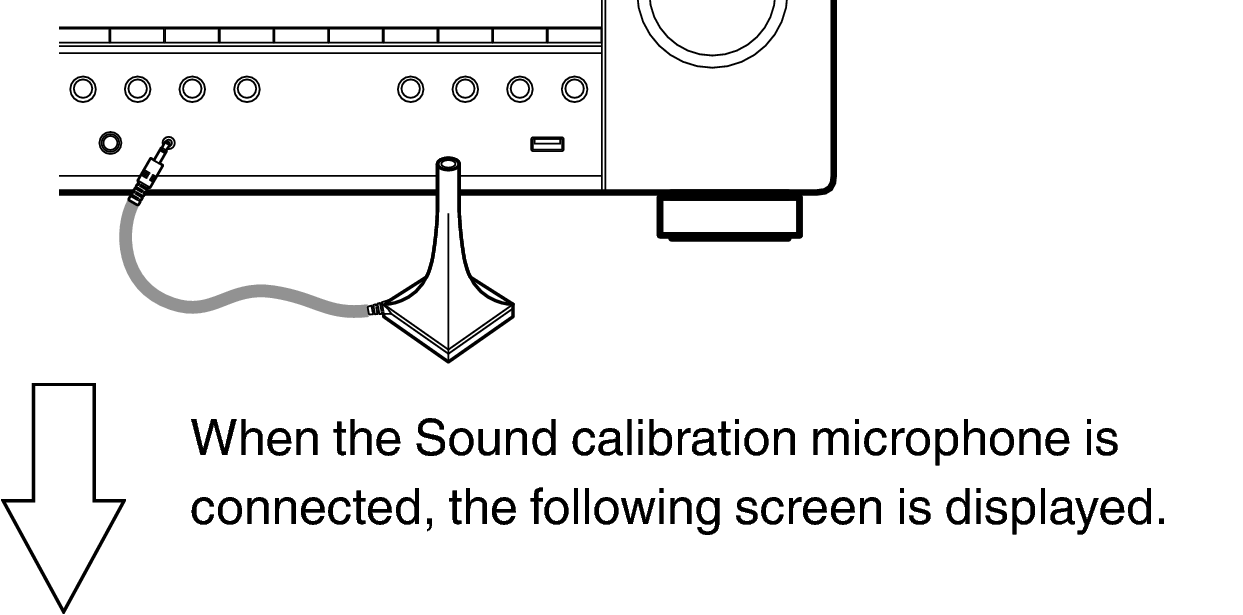
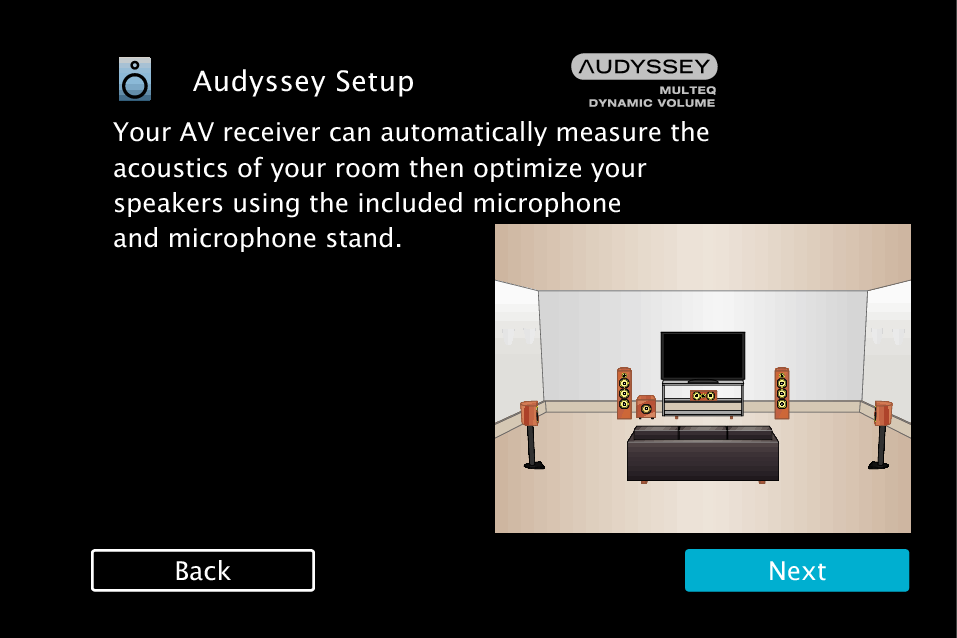
Select “Next”, then press ENTER.
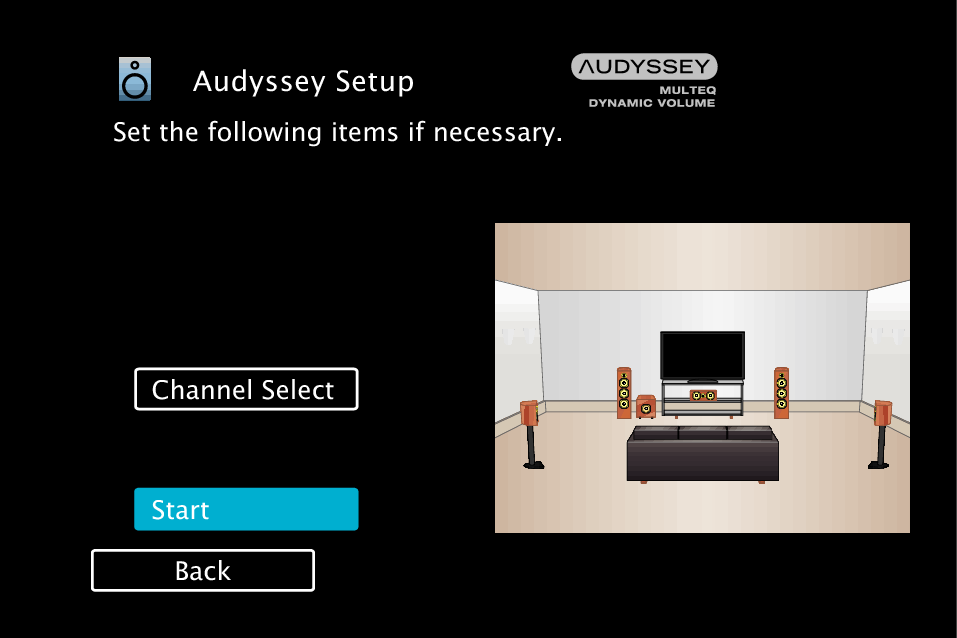
Select “Start”, then press ENTER.
Audyssey® Setup can also make the following settings.
Channel Select
If channels that are not to be used are set in advance, measurement for the set channels is skipped, and measuring time can be reduced.
Follow the instructions on the screen display and press “Next” to proceed further.
When the following screen is displayed, select “Begin Test” and then press ENTER.
Start the measurement of the first position.
Measurement requires several minutes.
NOTE
If “Caution!” is displayed on TV screen:
Go to Error messageslink. Check any related items, and perform the necessary procedures.
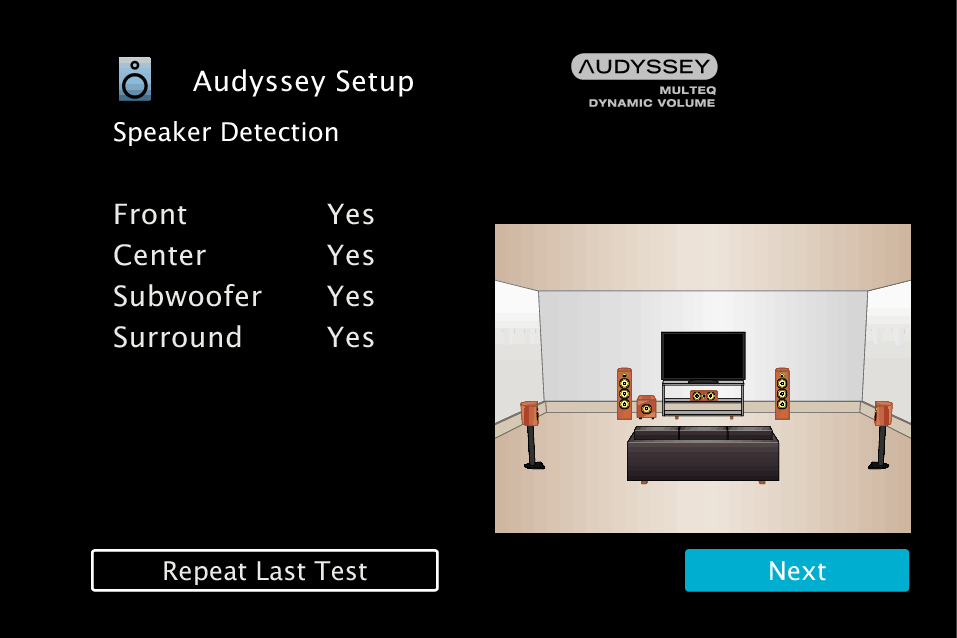
When the detected speaker is displayed, select “Next” and then press ENTER.
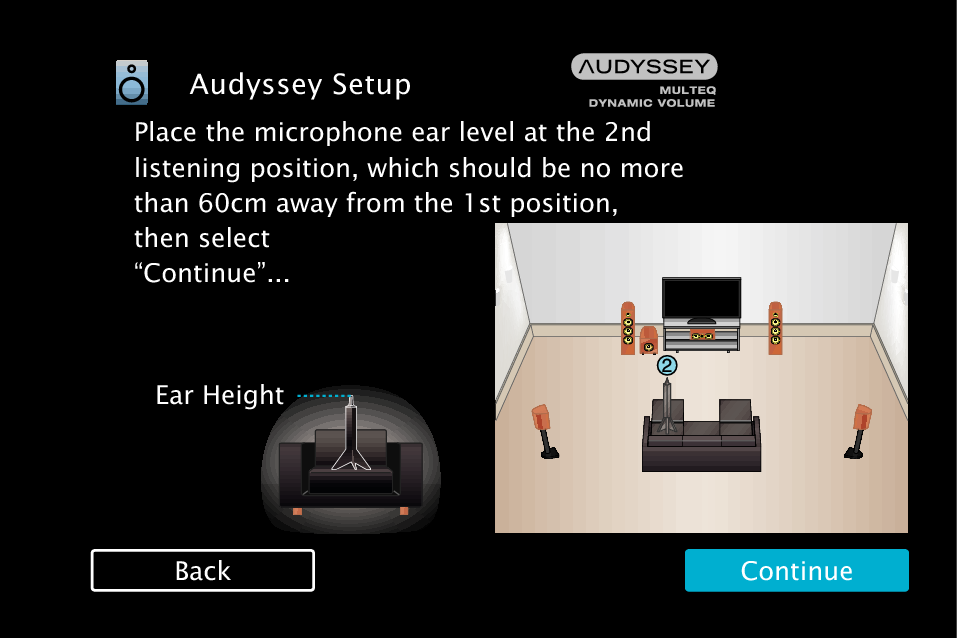
Move the Sound calibration microphone to position 2, select “Continue”, then press ENTER.
The measurement of the second position starts.
Measurements can be made in up to six positions.
Stopping Audyssey® Setup
Press BACK to display the popup screen.
Press  to select “Yes”, then press ENTER.
Repeat step 9, measuring positions 3 to 6.
To skip measuring the fourth and subsequent listening position, press ![]() to select “Complete” and press ENTER to proceed to step 12.
to select “Complete” and press ENTER to proceed to step 12.
Select “Continue”, then press ENTER.
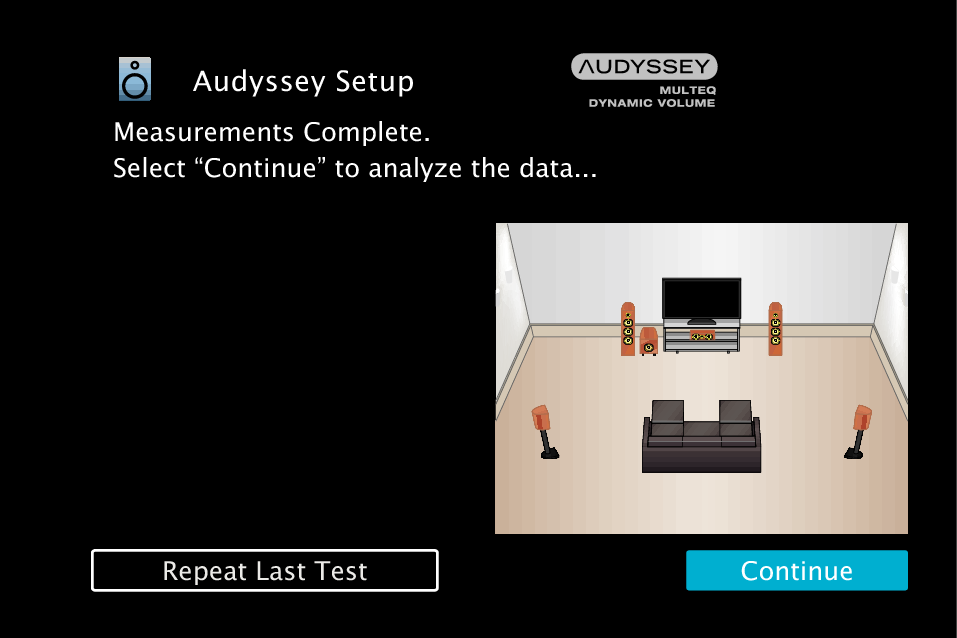
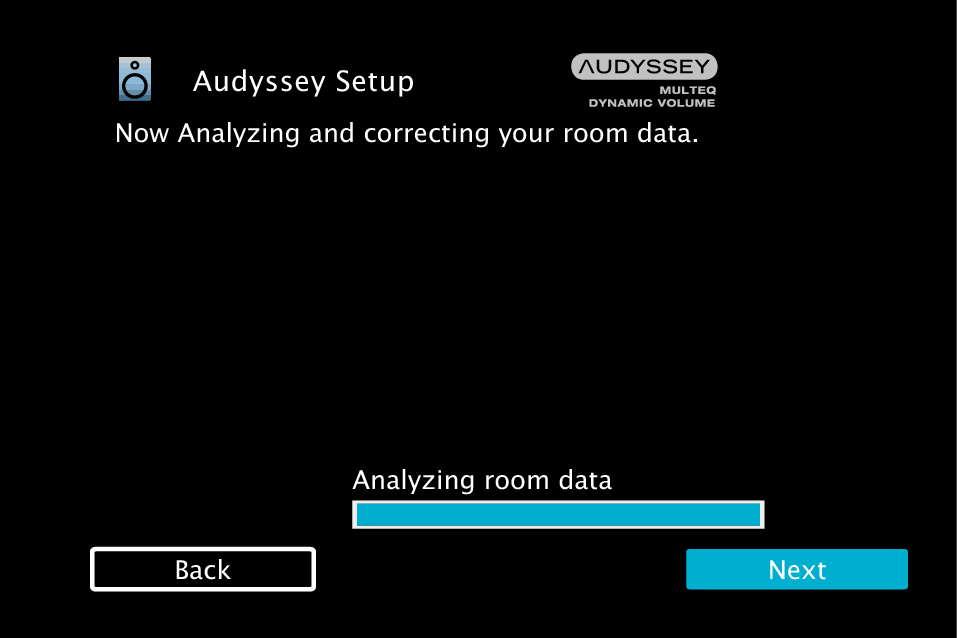
Start the analysis and storage of the measurement results.
Analysis takes several minutes to complete.
The more speakers and measurement positions that there are, the more time it takes to perform the analysis.
NOTE
When the measurement results are being saved, make sure the power is not turned off.
Perform the settings for Audyssey Dynamic EQ® and Audyssey Dynamic Volume®.
The following screen is displayed during the analysis. Configure the settings as preferred.
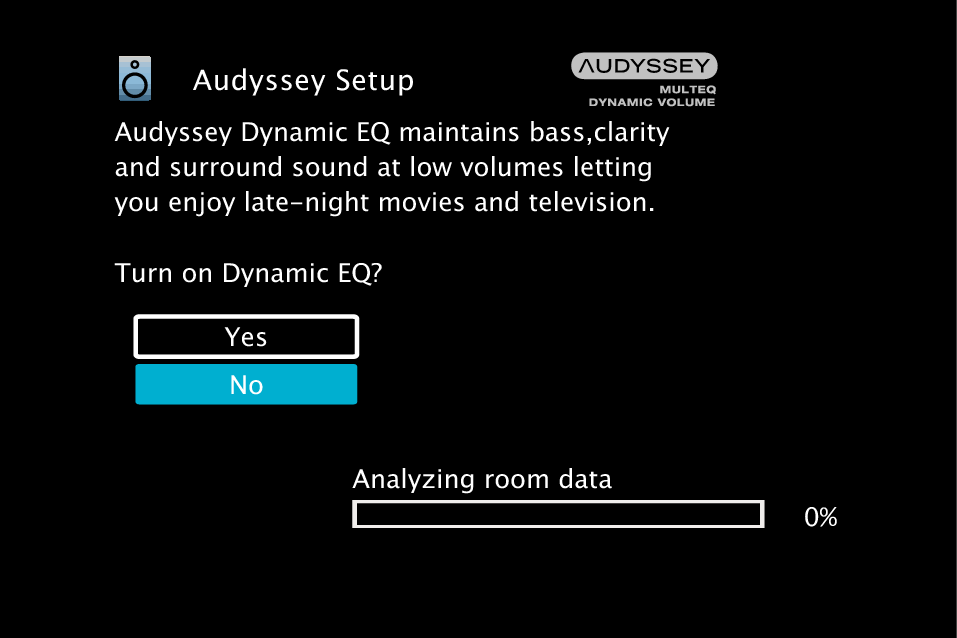
Dynamic EQ corrects the frequency response in consideration of the audio characteristics of the room and human hearing ability so that sound can be heard even at low volume.
This is recommended when using the unit with the volume turned down, e.g. when enjoying a movie or TV program in the middle of the night.
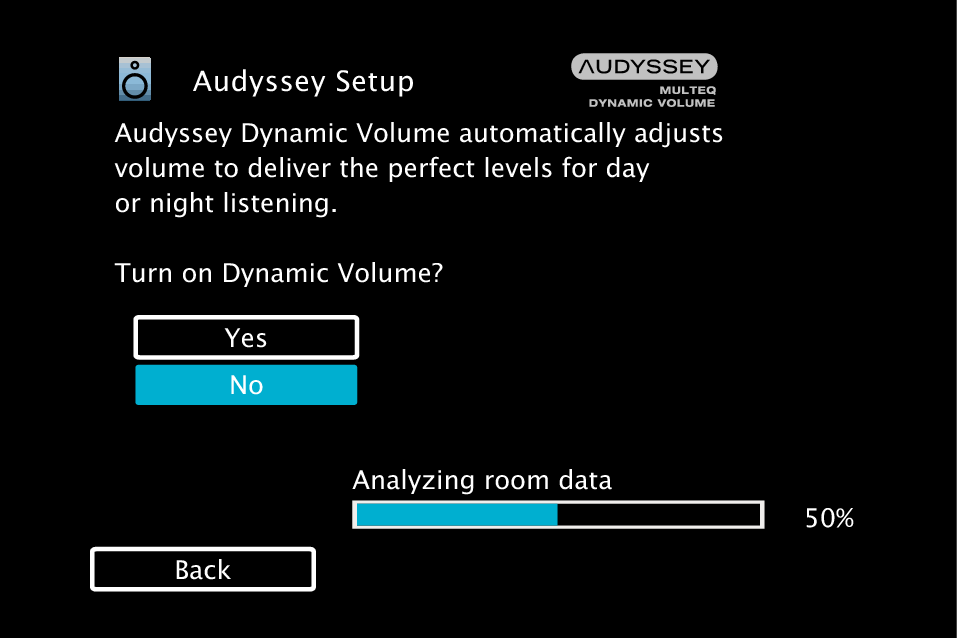
Dynamic Volume adjusts the output volume to the optimal level while constantly monitoring the level of the audio input to the unit.
Optimal volume control is performed automatically without any loss in the dynamism and clarity of the sound when, for example, the volume suddenly increases for commercials shown during television programs.
When the analysis and storage ends, unplug the Sound calibration microphone from the SETUP MIC jack on the main unit and then press “Next”.
Select “Details” and press ENTER to verify the measurement results.
Subwoofers may measure a greater reported distance than the actual distance due to added electrical delay common in subwoofers.
NOTE
Do not enable new speakers in speaker configuration menu after Audyssey® Setup. If it is changed, run Audyssey® Setup again in order to configure the optimum equalizer settings.