Search result
With the door open
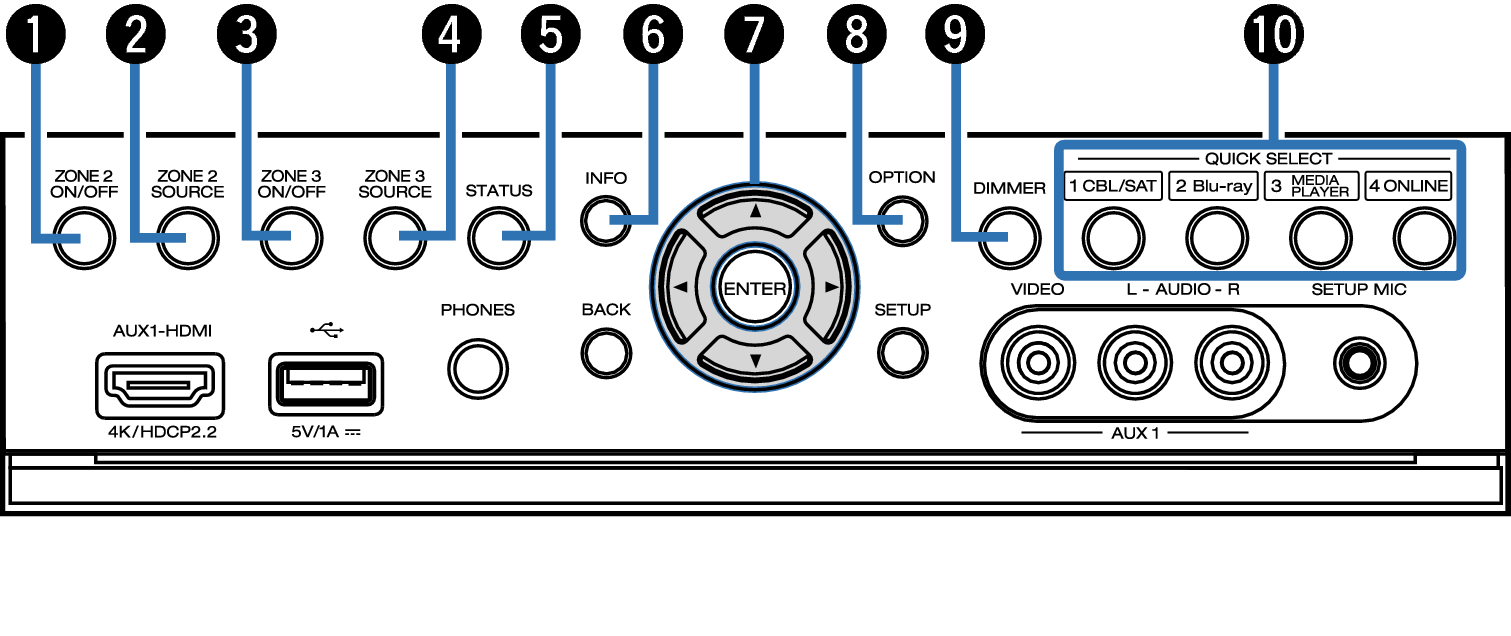
ZONE2 ON/OFF button
This turns the power of ZONE2 (separate room) on/off. link
ZONE2 SOURCE button
This selects the input source for ZONE2. link
ZONE3 ON/OFF button
This turns the power of ZONE3 (separate room) on/off. link
ZONE3 SOURCE button
This selects the input source for ZONE3. link
STATUS button
Each press of this switches the status information that is shown on the display.
Information button (INFO)
This displays the status information on the TV screen. link
Cursor buttons ( 


 )
)
These select items.
OPTION button
This displays the option menu on the TV screen.
DIMMER button
Each press of this switches the brightness of the display. link
QUICK SELECT buttons
With a single press of any of these buttons, you can call up various settings you’ve registered to each button such as the input source, volume level and sound mode settings. link
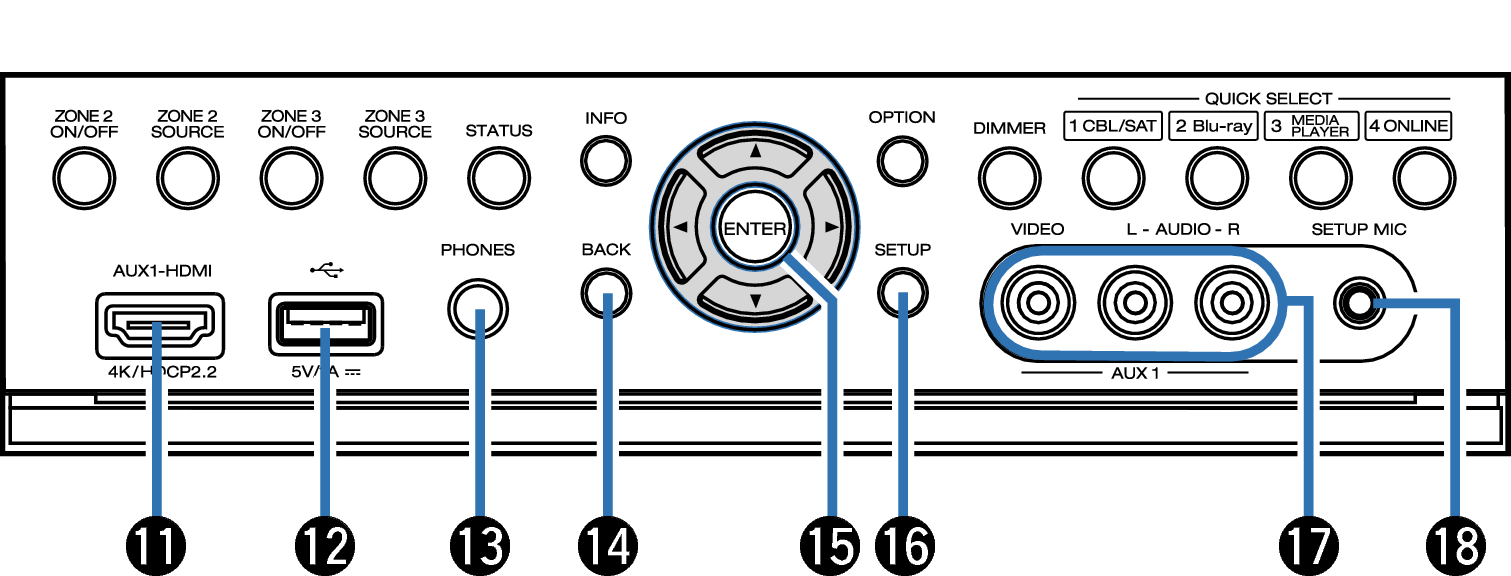
AUX1-HDMI connector
This is used to connect HDMI output compatible devices such as video camcorders and game consoles. link
USB port (  )
)
This is used to connect USB storages (such as USB memory devices). link
Headphones jack (PHONES)
This is used to connect headphones.
When the headphones are plugged into this jack, audio will no longer be output from the connected speakers or from the PRE OUT connectors.
NOTE
To prevent hearing loss, do not raise the volume level excessively when using headphones.
BACK button
This returns to the previous screen.
ENTER button
This determines the selection.
SETUP button
This displays the menu on the TV screen. link
AUX1 INPUT connector
Used to connect analog output compatible devices such as video camcorders and game consoles. link
SETUP MIC jack
This is used to connect the supplied Sound calibration microphone. link